Susie Monday

Artist, maker, teacher, author, head cook and bottlewasher.

Sign up here for monthly newsletters from me!

The art I make is the result of a life-long love of pattern, texture and color. How I teach is a skill honed by experience (I started teaching creative arts to younger kids when I was 12). After earning a B.A. in Studio Arts from Trinity University, I helped lead an internationally recognized educational foundation, designed curriculum exhibits for schools and other institutions, wrote and edited for a major daily newspaper, opened the San Antonio Children's Museum and then, a dozen years ago, took the scary but essential (for me) leap to become a fulltime artist and art teacher.

About This Blog

This weblog is about the maker's life. The teacher's path. The stitching and dyeing and printing of the craft of art cloth and art quilt. The stumbling around and the soaring, the way the words and the pictures come together. Poetry on the page and in the piecing of bright scraps together. The inner work and the outer journeys to and from. Practicalities and flights of fancy and fearful grandeur, trivial pursuits and tactile amusements. Expect new postings two or three times a week, unless you hear otherwise. 

To reach me, leave a comment after a post, OR email me at susiemonday@gmail.com 


To receive a notice of new posts in your email, scroll down this column to the end of the page and subscribe via FEEDBLITZ or add this blog to your own subscription service. You can search the blog with any phrase or word, by typing it into the seach window below:

Subscribe .. Or Write Me!

Subscribe to a email feed of this blog by filling in your email address in this box. Your email will not be sold or shared with others.


Preview | Powered by FeedBlitz


  • Contact Me

    This form will allow you to send a secure email to the owner of this page. Your email address is not logged by this system, but will be attached to the message that is forwarded from this page.
  • Your Name *
  • Your Email *
  • Subject *
  • Message *
Login

Entries in Art Cloth (41)

Friday
Feb012013

Exhibit at Palo Verde in California

Here's a link to a local news article (almost correct says the curator!) about our Art Cloth Network exhibit in California:

> http://www.pvnews.com/articles/2013/01/10/arts_and_entertainment/a_e1.txt

ANd an excerpt:

The only theme of “24 x 80” is size, Weir said. Each of the artists from the Art Cloth Network began with a silk banner, then used dyeing, printing or laminating to create moving, eye-catching pieces alive with sparkling or reflective foils.

One of the fiber artists, Cindy McConnell, created a slide show to accompany the exhibition that follows the process of making one of her three-dimensional silk boxes. Along with the slides are a display of printmaking equipment and a selection of about a dozen different textile, fiber and mixed media items that people can touch.

It’s the tactile aspect that draws Weir to fiber art.

“The touch, the feel, the fluidity, the fact that it takes any kind of treatment appeals to me,” she said. “You can paint it, dye it, burn it, stitch through it or wad it up. It’s a medium that we’re all completely comfortable with. We all wear clothing and sleep on sheets. We don’t have to search far for inspiration or materials, they’re everywhere.”

If you would like to be part of the group -- a really rewarding experience in my creative life -- see the entry requirements and membership duties and fun on the website at http://artclothnetwork.com/join.html.

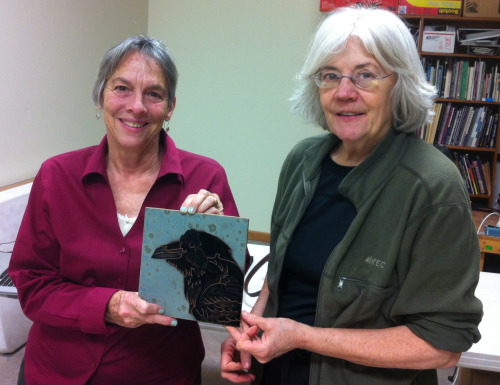
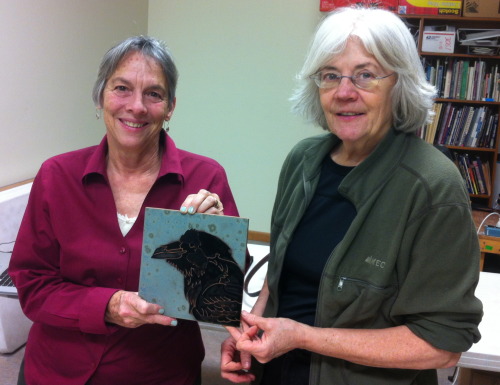
At our last Art Cloth Network meeting -- and yes, we do accept male members. Russ must have been taking the photo!

Saturday
Jan052013

Palos Verdes Art Center

My work is part of this exhibition -- in the 24 by 80 Exhibit of Art Cloth. Art Cloth Network member Deborah Weir is the guest curator for the three exhibits. Please leave me a comment if you get to see it -- I'd love to know what you think! The exhibit is in California at the Palos Verdes Art Center in North Los Angeles.

My work is titled HUMMER, and was inspired by observing the black throated hummingbirds in the blossoms of the Century Plant. The exhibit features art cloth work unified by its 24" by 80" size by members of ACN. Art Cloth Network is seeking some additional members for its 30-member (max) national organization. If you'd like more info and a link to submission/application information, send me an email on the comment form or the contact form on the sidebar. 

Saturday
Jun162012

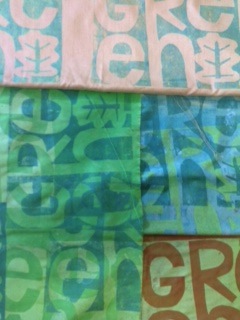
Screen Printing Free Form Letters  

This blog post is intended as a bonus for those enrolled in my More Text on Textiles online course that started on Joggles today. 

Now, it's not too late to join in the fun, so if you are interested in this 4-week, PDF based course (with an online forum during the next 6 weeks), head on over to this link for enrollment info --http://www.joggles.com/store/catalog/product_info.php?cPath=75_1235&products_id=24165

It's an affordable way to get your feet wet with putting words, quotations, pithy comments and other thoughts (yours and others) on your art quilts, art cloth, wearable art or mixed media pieces.

Using letter forms for screenprinting stencils is another way to use your cut letters. P.S. This post assumes you have a basic knowlege of screenprinting. If not, go to this site to see a demo at http://www.youtube.com/watch?v=wogKeYH2wEE. This is a demo that takes you through the entire process, making your own screen. You can purchase them ready-made at many art supply stores. This demo shows all kinds of stencils, and you will be using your cut letters as the stencil. YOU don't need a clamped frame, I just move my small screen over the fabric. 

Because these letters will be used as a one time stencil, then thrown away, I usually just use old newspaper or sheets of newsprint, or recycled copy paper. Newspaper is really great because it is really thin and adheres to the screen and wet ink really well.


Any thin flat paper will work, but if you want a reusable stencil, cut your letters with contact paper (backing side up, the sticky side goes against the back of the screen).

 You can use any clean silkscreen for your tool. Occasionally I even use one with defects or blocked areas, for a distressed kind of print.

 Free-hand cut your word or words from your choice of paper (instructions are in the first lesson of More Text on Textiles). Then use small folds of masking tape (one or two per letter only), and tape your letters on the back (bottom) of the screen. Your words should read correctly through the screen unless you are intentionally reversing them. This is a great time to teach yourself to cut serif letters or letters that enlarge some iconic type (like those used by Corita Kent in her work).

Screenprint onto ironed flat fabric with thickened dye (see the Dharma catalog for easy instructions and supplies), textile screen printing ink, or other inks. Use a padded surface under your fabric.

Use your word as a repeat, or as a one-time print. When finished wipe down the screen, remove the letters and wash. Let textile ink prints dry, then iron to set. Thickened dye prints need to be batched, as with any dye painted fabrics.


Thursday
Mar292012

Traveling with Text 

With my aquisition (thanks to birthday bonanza from Linda) of a NEW iPad with the camera, I am afire with digital imaginings. Here are some of my most recent experiments using several iPad apps one on top of another, as well as a few text-based Mixel collages.

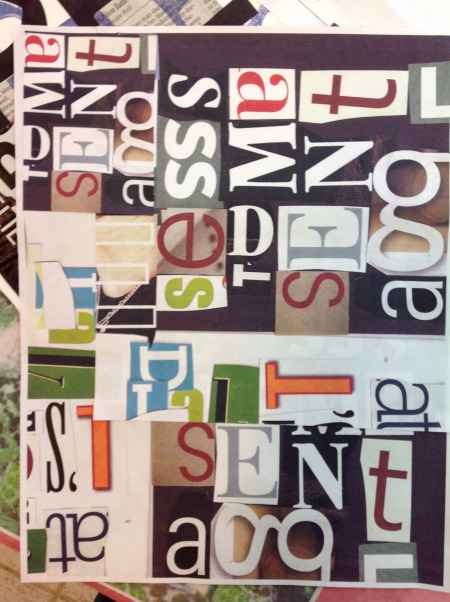
The one above was a "physical" collage made with text cut from magazines (one of the exercises in my Text on Textiles courses, like that I am teaching on Joggles right -- and in the summer semester, too). I then photograhed it with the smart phone, sent it to the Cloud and my iPad and altered the colors with an app called PhotoPad (free, and a good photo editing tool). Then I drew on top of that saved image with some other tools and also erased part of the  image -- it looks to me like "Pollock takes on text."

Below is another physical collage that was altered, first with an iPad app called ArtistaHaikuHD that gives one a variety of watercolor effects/filters to use on photos.  Then I loaded that saved image into the PhotoPad App and played around with the colors. Que Cool!

Here's the watercolor versions in ArtistaHaikuHD:

How did I start? You can see the original here. 

 Or, rather the intermediate stage that was done on Mixel. The first product was actually this little 4 by 6 collage (shown here with two copies taped together):

WOW! It's amazing how these tools can morph one image SO MANY ways. I love to play with the possiblilities -- so the challenge is not in fluency, it's in when to quit and put my hands back on the wheel, so to speak. Where does what I can do only with hands happen?

Here's one way:

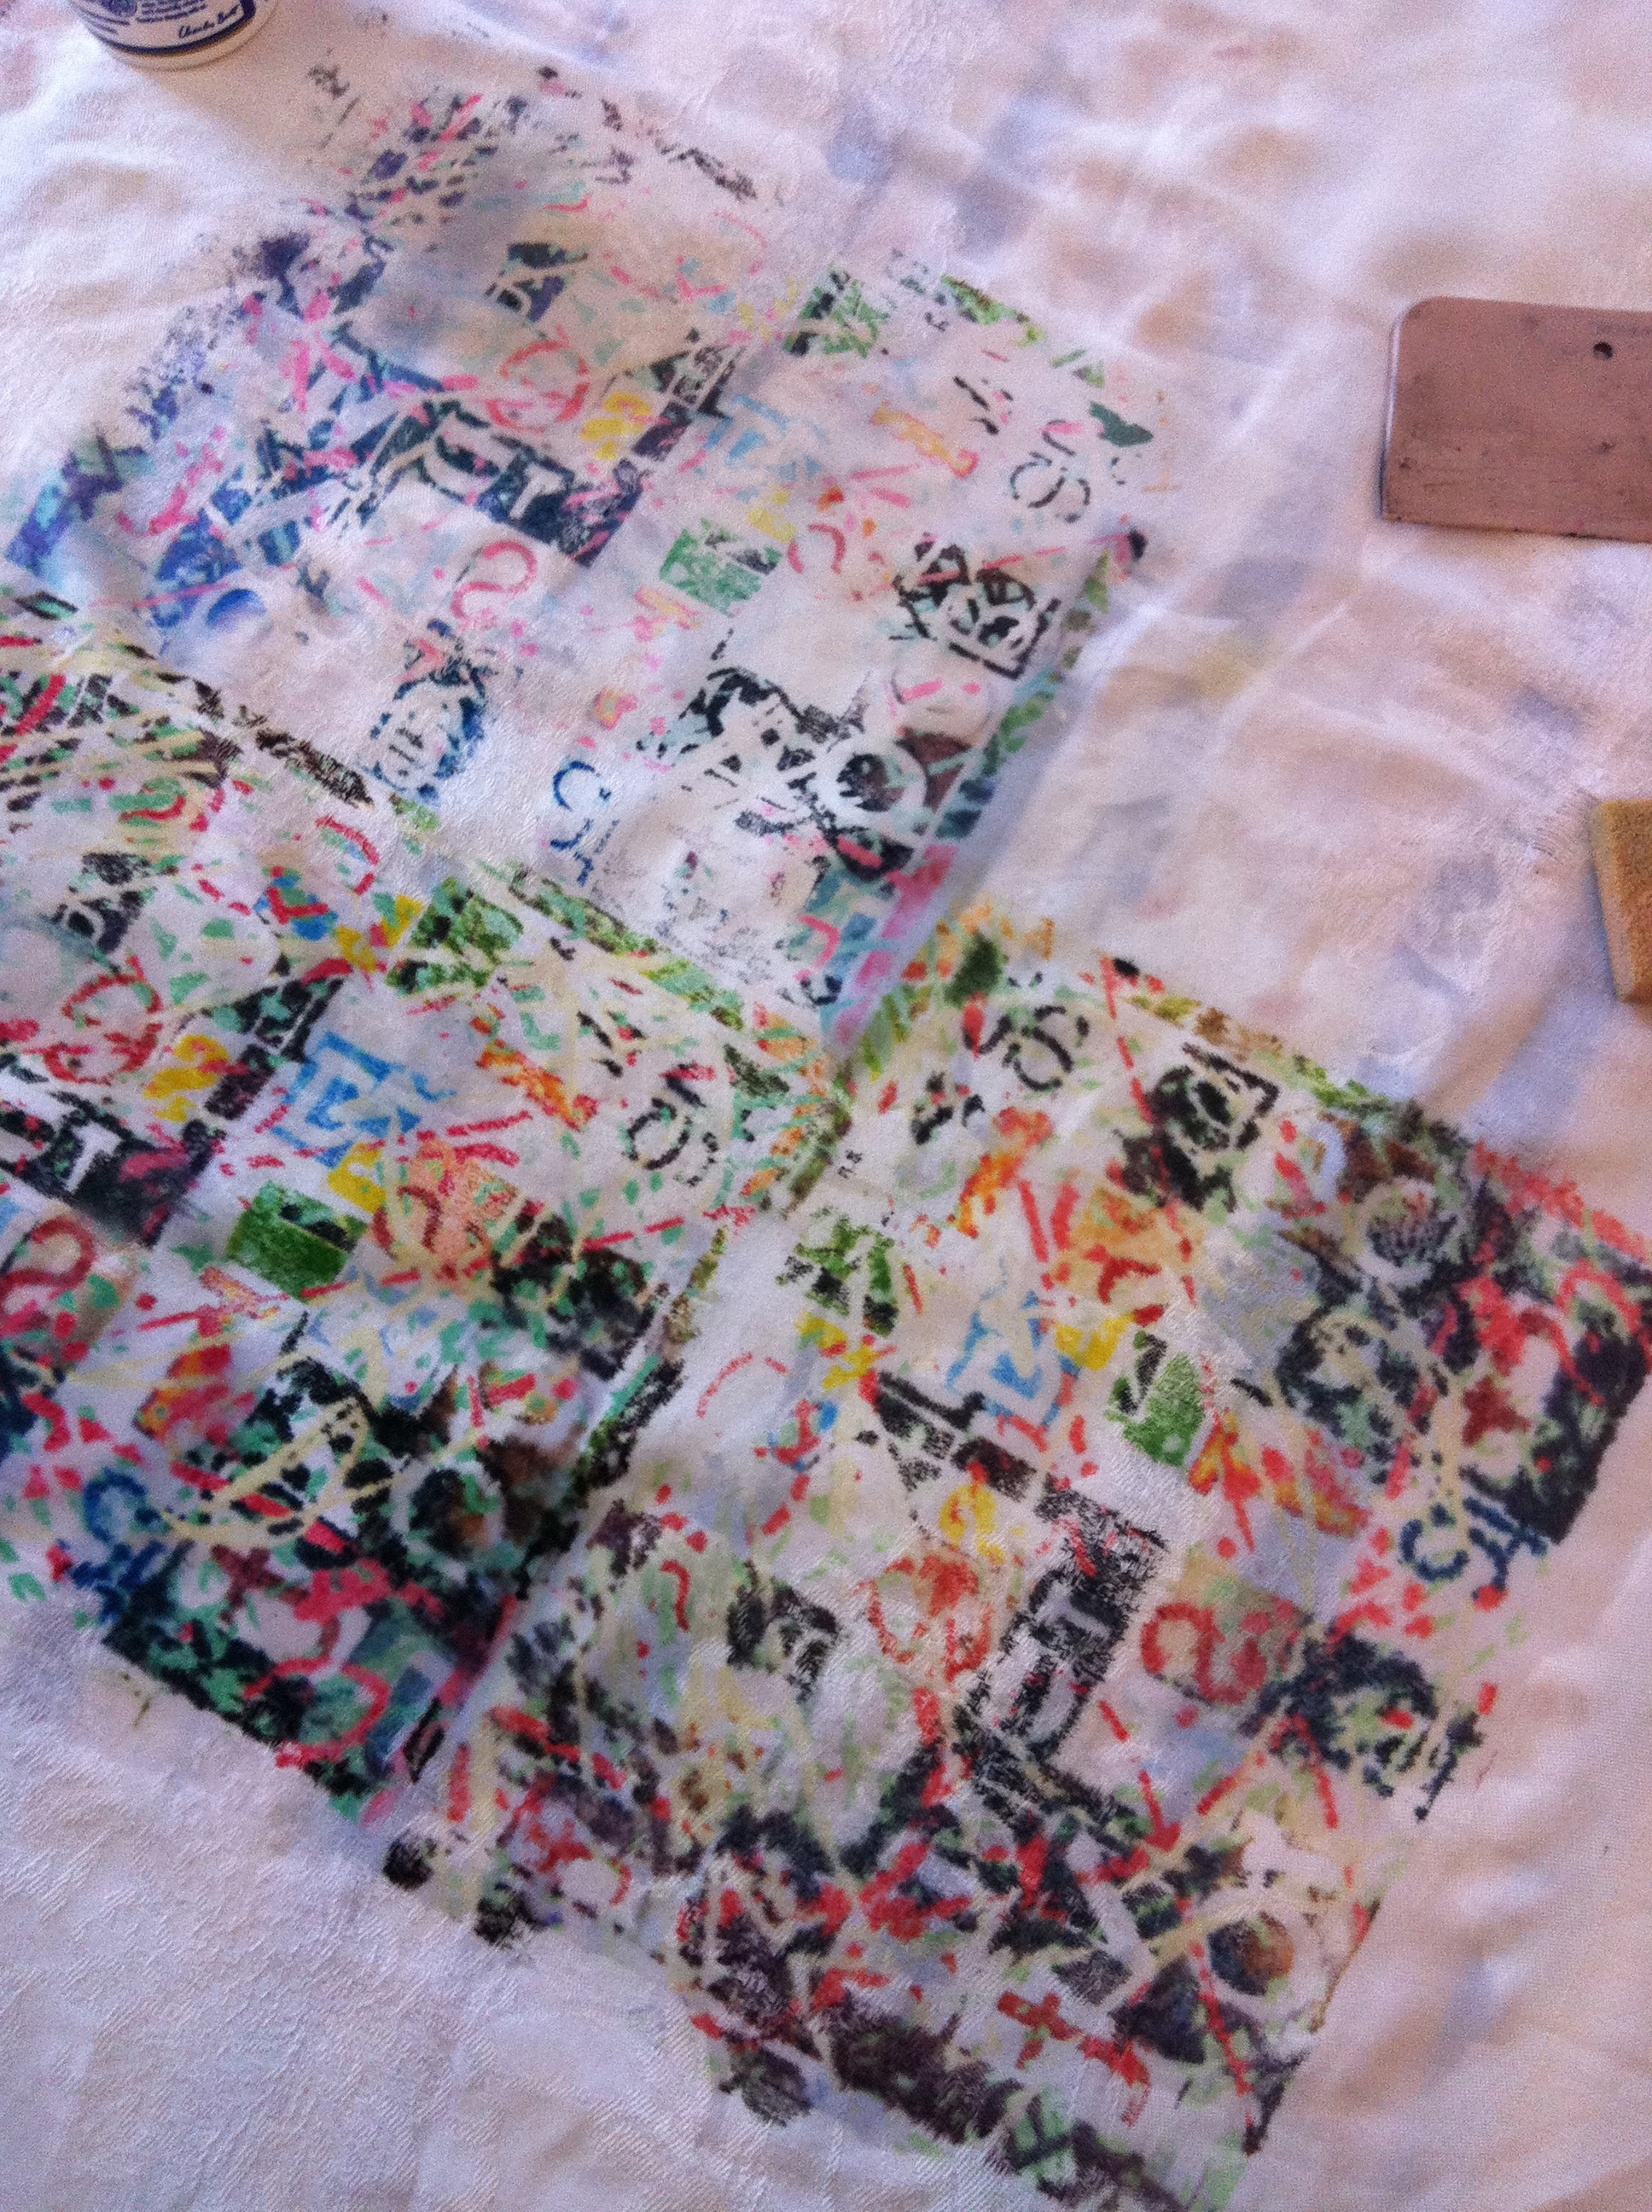
Print it with inkjet transfers on an old piece of tablelinen: