Screen Printing Free Form Letters
 Saturday, June 16, 2012 at 12:44PM
 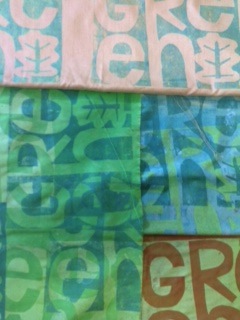 This blog post is intended as a bonus for those enrolled in my More Text on Textiles online course that started on Joggles today.
Now, it's not too late to join in the fun, so if you are interested in this 4-week, PDF based course (with an online forum during the next 6 weeks), head on over to this link for enrollment info --http://www.joggles.com/store/catalog/product_info.php?cPath=75_1235&products_id=24165
It's an affordable way to get your feet wet with putting words, quotations, pithy comments and other thoughts (yours and others) on your art quilts, art cloth, wearable art or mixed media pieces.
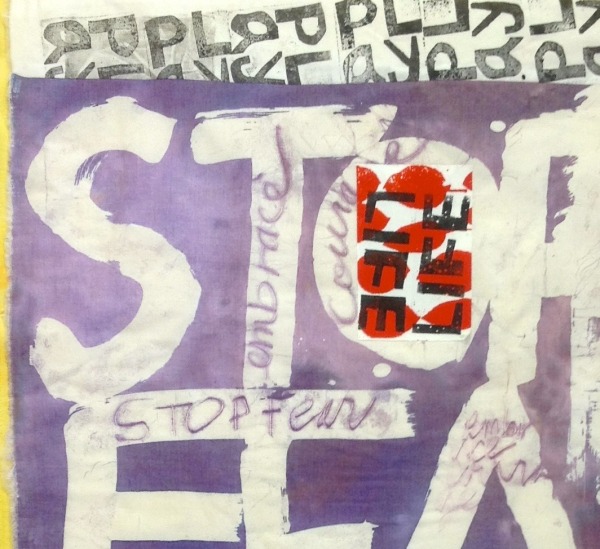
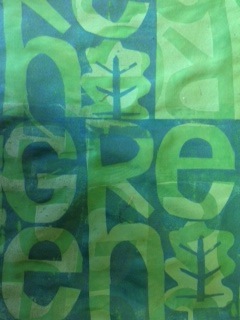
Using letter forms for screenprinting stencils is another way to use your cut letters. P.S. This post assumes you have a basic knowlege of screenprinting. If not, go to this site to see a demo at http://www.youtube.com/watch?v=wogKeYH2wEE. This is a demo that takes you through the entire process, making your own screen. You can purchase them ready-made at many art supply stores. This demo shows all kinds of stencils, and you will be using your cut letters as the stencil. YOU don't need a clamped frame, I just move my small screen over the fabric.
Because these letters will be used as a one time stencil, then thrown away, I usually just use old newspaper or sheets of newsprint, or recycled copy paper. Newspaper is really great because it is really thin and adheres to the screen and wet ink really well.
Any thin flat paper will work, but if you want a reusable stencil, cut your letters with contact paper (backing side up, the sticky side goes against the back of the screen).
You can use any clean silkscreen for your tool. Occasionally I even use one with defects or blocked areas, for a distressed kind of print.
Free-hand cut your word or words from your choice of paper (instructions are in the first lesson of More Text on Textiles). Then use small folds of masking tape (one or two per letter only), and tape your letters on the back (bottom) of the screen. Your words should read correctly through the screen unless you are intentionally reversing them. This is a great time to teach yourself to cut serif letters or letters that enlarge some iconic type (like those used by Corita Kent in her work).
Screenprint onto ironed flat fabric with thickened dye (see the Dharma catalog for easy instructions and supplies), textile screen printing ink, or other inks. Use a padded surface under your fabric.
Use your word as a repeat, or as a one-time print. When finished wipe down the screen, remove the letters and wash. Let textile ink prints dry, then iron to set. Thickened dye prints need to be batched, as with any dye painted fabrics.
 text on the surface,
  workshops in
  Art Cloth,
  Art Quilts,
  Info and Technique


Reader Comments (1)
These directions are so clear, and I am looking forward to exploring the technique this week on a project that is on the drawing board, ready for some letters and this process gives me the answers I have been seeking....thank you for this.
Kristin